
NewsDetails
Waterproofing and Moisture Control for Exterior Insulation Panels
author:Dingming time:2026-11-05 17:58:20 Click:98
A panel that insulates well but lets water in has failed at its most basic job. Exterior insulation decorative panels are built as a closed sandwich, with the insulating core protected between a finished face and a backing layer, yet the weak points are almost always the edges, the joints, and the places where the wall meets a window or a roof. Treating moisture as a design input from day one is far cheaper than opening a facade two winters later.
Why Moisture Is the Quiet Threat
Water does not announce itself the way a cracked finish does. It moves slowly through capillary action and vapor diffusion, collects inside the core, and quietly lowers the thermal value while feeding mold and corrosion at the anchors. A factory-built panel starts with the advantage of controlled lamination, but once it is cut on site or joined to a wet substrate, that advantage can be lost. The goal of a good detailing package is to keep bulk water on the outside and let any stray vapor escape without condensing inside the assembly.
Read the Vapor Profile Before You Specify
Every wall has a vapor drive, and it changes with the season. In heating climates, vapor tends to move from the warm interior toward the cold outside, while in cooling climates the direction can reverse during humid summers. The panel system should be detailed so the assembly dries to the side where conditions allow. A knowledgeable manufacturer will discuss whether the core needs a separate vapor control layer or whether the factory-applied skins already provide enough resistance. Avoid guessing: ask for the permeance figures and compare them to the wall assembly as a whole, not to the panel alone.
The Joint and the Seal
The joint between panels is where most failures begin. A reliable detail pairs a mechanical interlock or a compressible gasket with a bead of compatible sealant rated for the expected movement. Sealants shrink and age, so the design should not depend on a single line of defense. The supplier should state the approved sealant type and the maximum joint width the system tolerates, because a panel installed with a gap wider than designed will leak no matter how good the material is. Field teams should also be told not to bridge joints with incompatible tapes that can react and fail early.
Detailing Around Openings
Windows, doors, and meter boxes break the continuous skin, and each opening needs its own small flashing plan. The panel edges around an opening should be cut cleanly, sealed at the exposed core, and backed by a sill pan or a flashing that throws water outward. A capable factory can supply pre-cut reveal pieces or corner units so the site is not improvising with a grinder. Where the head of an opening meets a horizontal panel joint, a small drip edge prevents a concentrated stream from running straight into the seam.
Drainage and the Cavity Behind
Even a tight facade should assume some water will find a way in. A drained and ventilated cavity behind the panels gives that water a path out and lets the backing dry. The cavity needs clear weep paths at the base and open vertical channels so air can move. When the supplier provides the bracket and the spacer layout, confirm the channels stay open after the panels are hung and are not blocked by oversized seal beads at the base track.
Field Checks a Supplier Should Support
Moisture control is verified, not assumed. A good supply package includes a water-test procedure, often based on a spray rack that mimics wind-driven rain, applied to a finished bay before the rest of the wall proceeds. The manufacturer should also be willing to review the installer's sealant work through photos or a site visit. Keep the test results with the batch records; they are the fastest way to settle a dispute if a stain appears months later. A supplier that refuses a water test is telling you something about its confidence in the system.
Common Mistakes That Let Water In
A few repeated errors cause most facade moisture problems. The first is treating the sealant as the only defense, so when it ages the joint fails; a good detail backs the seal with a mechanical interlock. The second is cutting panels with a wet blade on site, which wets the core edge and traps moisture inside the sandwich. The third is ignoring the base of the wall, where splash-back does the most damage if the first course is not protected. A manufacturer that trains the installer or supplies a clear handling guide reduces these risks early. None of these failures shows up on a sunny day, which is why they are caught too late, after the stain has already spread.
Author: Margaret Lindqvist, a building-envelope specialist focused on moisture and durability.
References
ASTM E331, Standard Test Method for Water Penetration of Exterior Windows, Skylights, and Doors by Uniform Static Air Pressure Difference
ASTM E96, Standard Test Method for Water Vapor Transmission of Materials
ISO 6946, Building Components and Building Elements - Thermal Resistance and Thermal Transmittance - Calculation Method
AAMA 501.2, Field Check of Water Penetration of Installed Storefronts, Curtain Walls, and Sloped Glazing Systems
EN 13501-1, European Fire Classification of Construction Products
 Recommended Products
-
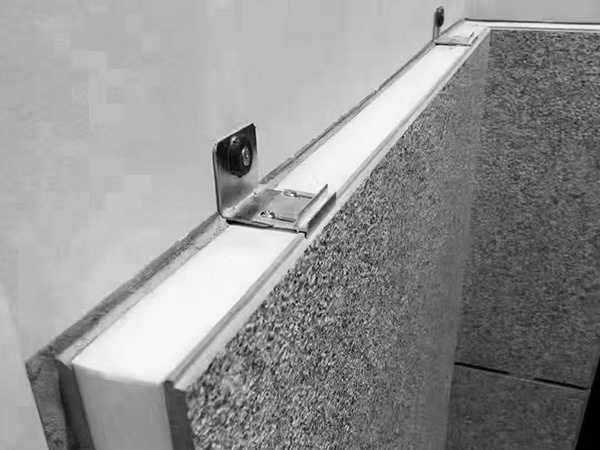
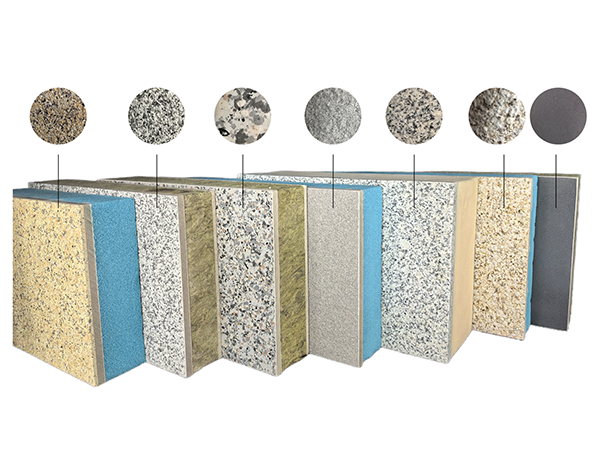
Real stone paint exterior wall insulation and decoration integrated board
-
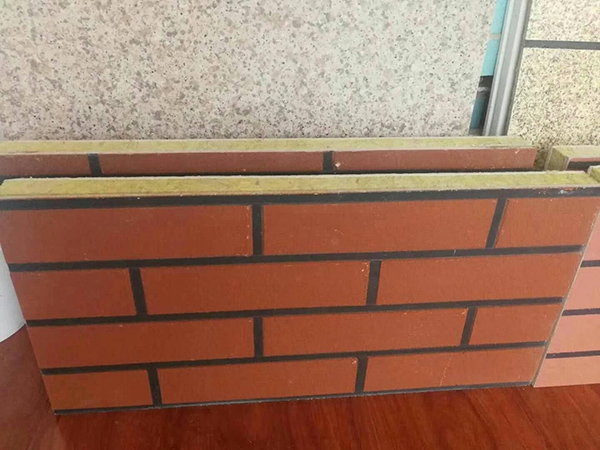
Real stone paint imitation brick polyurethane insulation integrated board
-
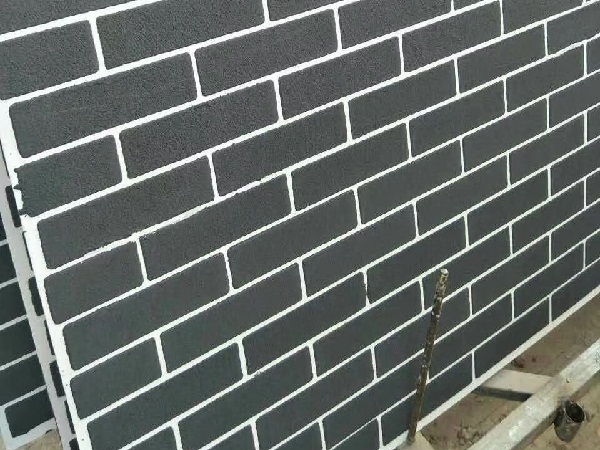
Extruded genuine stone paint imitation brick integrated board
-
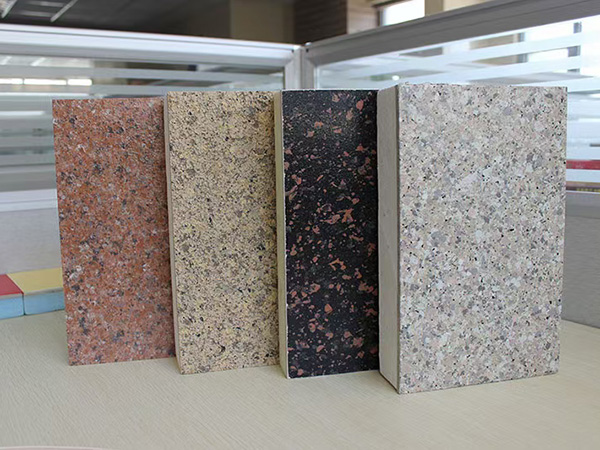
Imitation stone paint insulation decorative integrated board
-
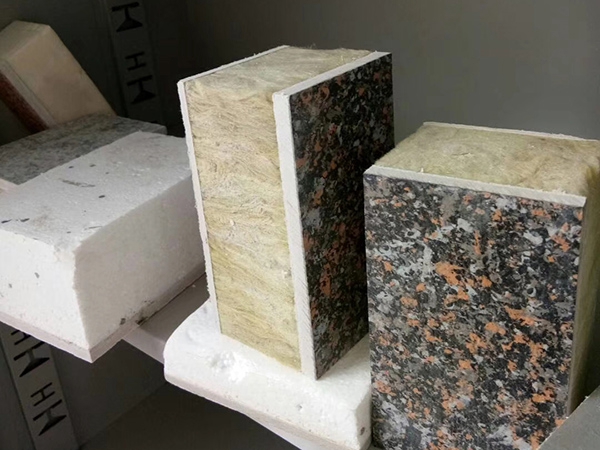
Colorful painted rock wool insulation decorative integrated board
-
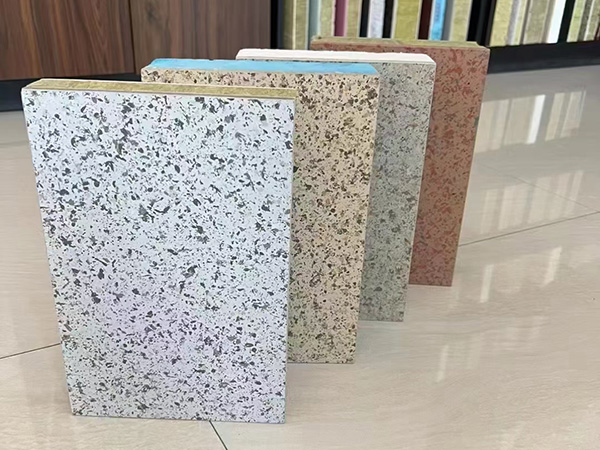
Imitation stone insulation decorative integrated board
Contact us
—— Contact:Manager
—— Tel:+86 15175677755
—— Email:644244139@qq.com
—— Url:https://www.dingminginsulation.com
—— Address:Liuyuanzhuang Village, Dacheng County, Langfang City, Hebei Province